Saturday, September 11, 2010

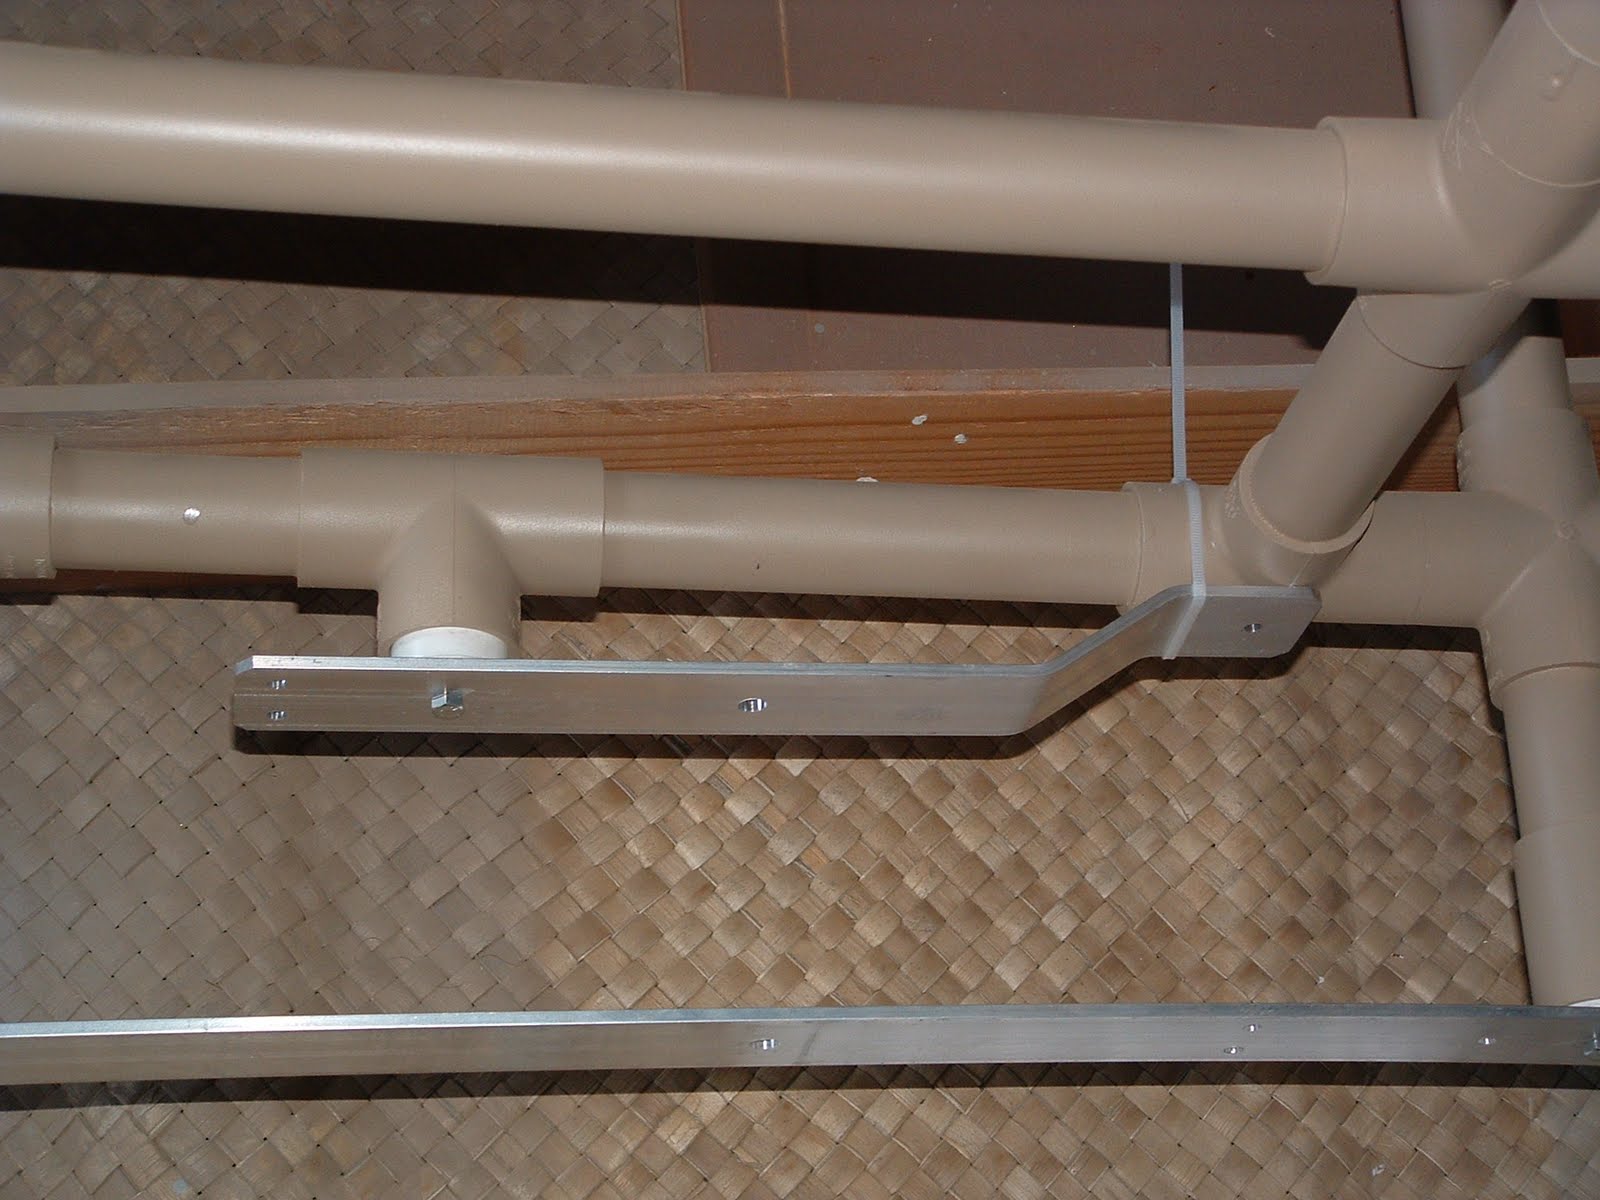
Axle brackets

I used a reducer bushing instead of a plug on the axle brackets. No hole drilling. A washer on the end allows the nut to tighten down. Since there is a steel fence railing in the pipe the inner bracket attaches to, I used a zip tie to clamp the end onto the frame. It won't rust! I hope it has enought tensile strength for any pressure it must withstand.


steering - axle cap2


Got the 1" cap, bought a 1" washer, and bought a drill bit for a 7/8" hole in the cap. Photo 2: I had to use the shop's drill because holding the cap and drilling it with a hand drill was an exercise in futility.


Photo 3: bolt, washer, nut. Photo 4: Installed on axle Photo 5: Pipe showing the steering column in place. Cap spins freely because nut not tightened down.


Tuesday, August 31, 2010

Wheel Assembly


Easier than I thought! The plans show you how to make the assembly from metal. The kit has the pieces made and they go together like love and marriage. A little pressure needed to push the spindle down over the wheel bolt in order to tighten or loosen onto the wheel. The steering arms (twisted pieces) have a larger hole that fits on the wheel axle. Don't forget to put the steering rod connector (little black piece with a hole in the end for the rod) on the inside of the bracket when inserting the long 8" bolt.


Steering column


Drill, baby, drill! After measuring over from the cross tube, align the hole on the circumference of the axle by lining up with tube or wood dowel threaded through the steering column tee. Remember, you didn't glue the tee, so it is adjustable.
Next, order the 1" cap that you couldn't find at Home Depot. I found it and 1 1/4" plugs at Aubuchon Hardware, www.hardware.com.

Saturday, August 28, 2010

Painted!


Satin Khaki Krylon Fusion Plastic covering paint. It should go with the Surf Woody look. I spent a day or two looking for another can, because I ran out of it and so did Michael's, where I bought it. Mental note: buy more than enough spray paint the first time!

Tuesday, August 24, 2010

Steering - axle cap


Added the cap to the wheel support for the axle assembly. After viewing the photos on the website, I finally grasped the concept of the 1/8" off center hole in the top to attach the wheel spindle and the hole in the side. By placing a rod in the hole in the side, you can turn the non-glued cap, rotating the off-center hole closer or further to the frame, thus aligning the wheels vertically. You want them slightly tilted inward. Photos of this when I'm done will show it much better. Meanwhile, photos are on the website, under SideKick way at the bottom, under another link to photos of others, I think.

Monday, August 16, 2010

Tires and wheels


Not much time this weekend due to the running and jumping of little feet. However, I got the tires and wheels put together with the help of 8 year old Skyler. I bought to 1.25" caps to finish the wheel attachment to the axle, and did some research on foamcore/gatorboard for the custom body exterior. Special credit to Pete Luiz (Petey) who walked by my desk, saw the photo of the frame and suggested the lightweight foamcore for the outside body. Gator board is much sturdier than foamcore but costs about 3 times as much at Walser's Art Supply. Online is cheaper.

Scrap PVC makes good beach toys or an erector set for kids.