Monday, July 26, 2010

Square up and Tape joints


The Dreamcycle doesn't look a whole lot different, but I adjusted a few lengths, cut the wood dowel rod support for the back axle, figured out the reducer bushings will work instead of the plugs for the metal brace, and bought the metal fence rail top for support in the frame, and then put it all back together again. I'm putting tape on the joints to mark and cut so that I can take it apart and glue it together for good. Got to remember which order to do it in so that I have wiggle room on the difficult ones. I propped the steering wheel I'm going to use in the steering column hole in the dash (part of the kit). I hope I can figure out the steering, the wheels and deraileur installation!
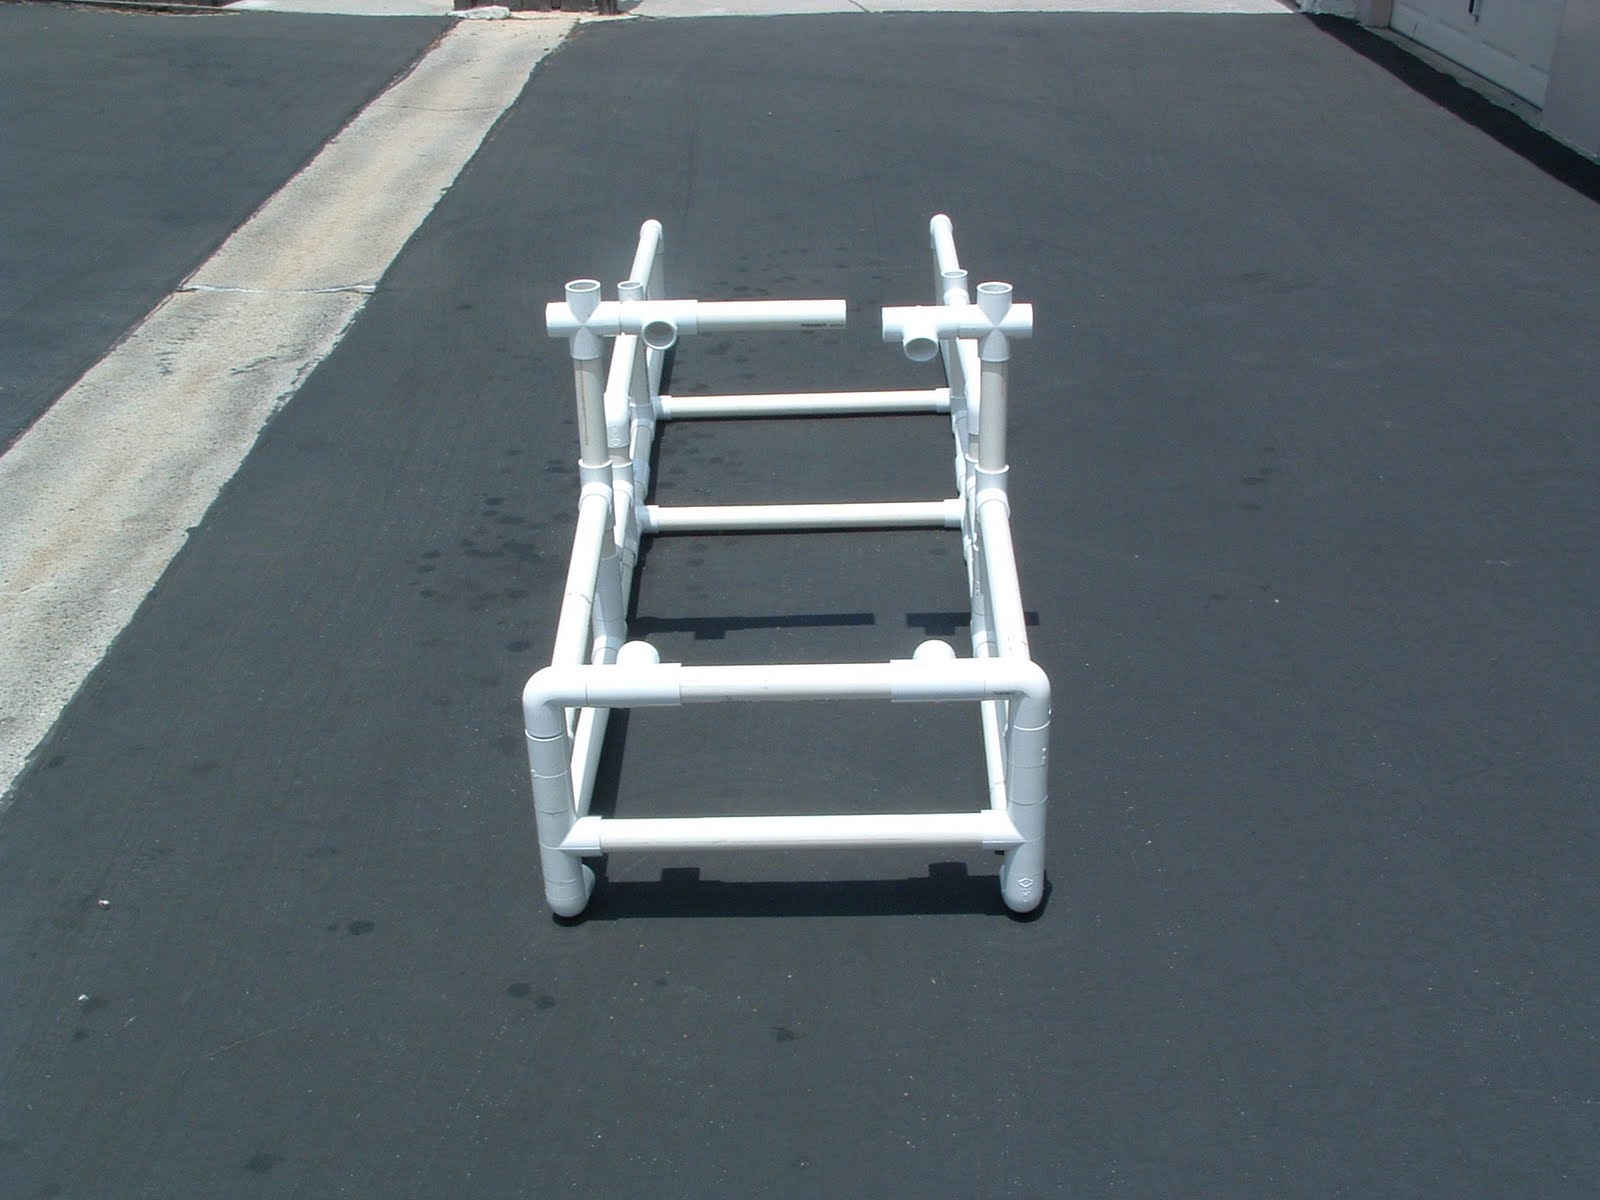
I will photograph the hardware installation meticulously for the future installation manual. It's difficult to figure out for the mechanically challenged. (me)
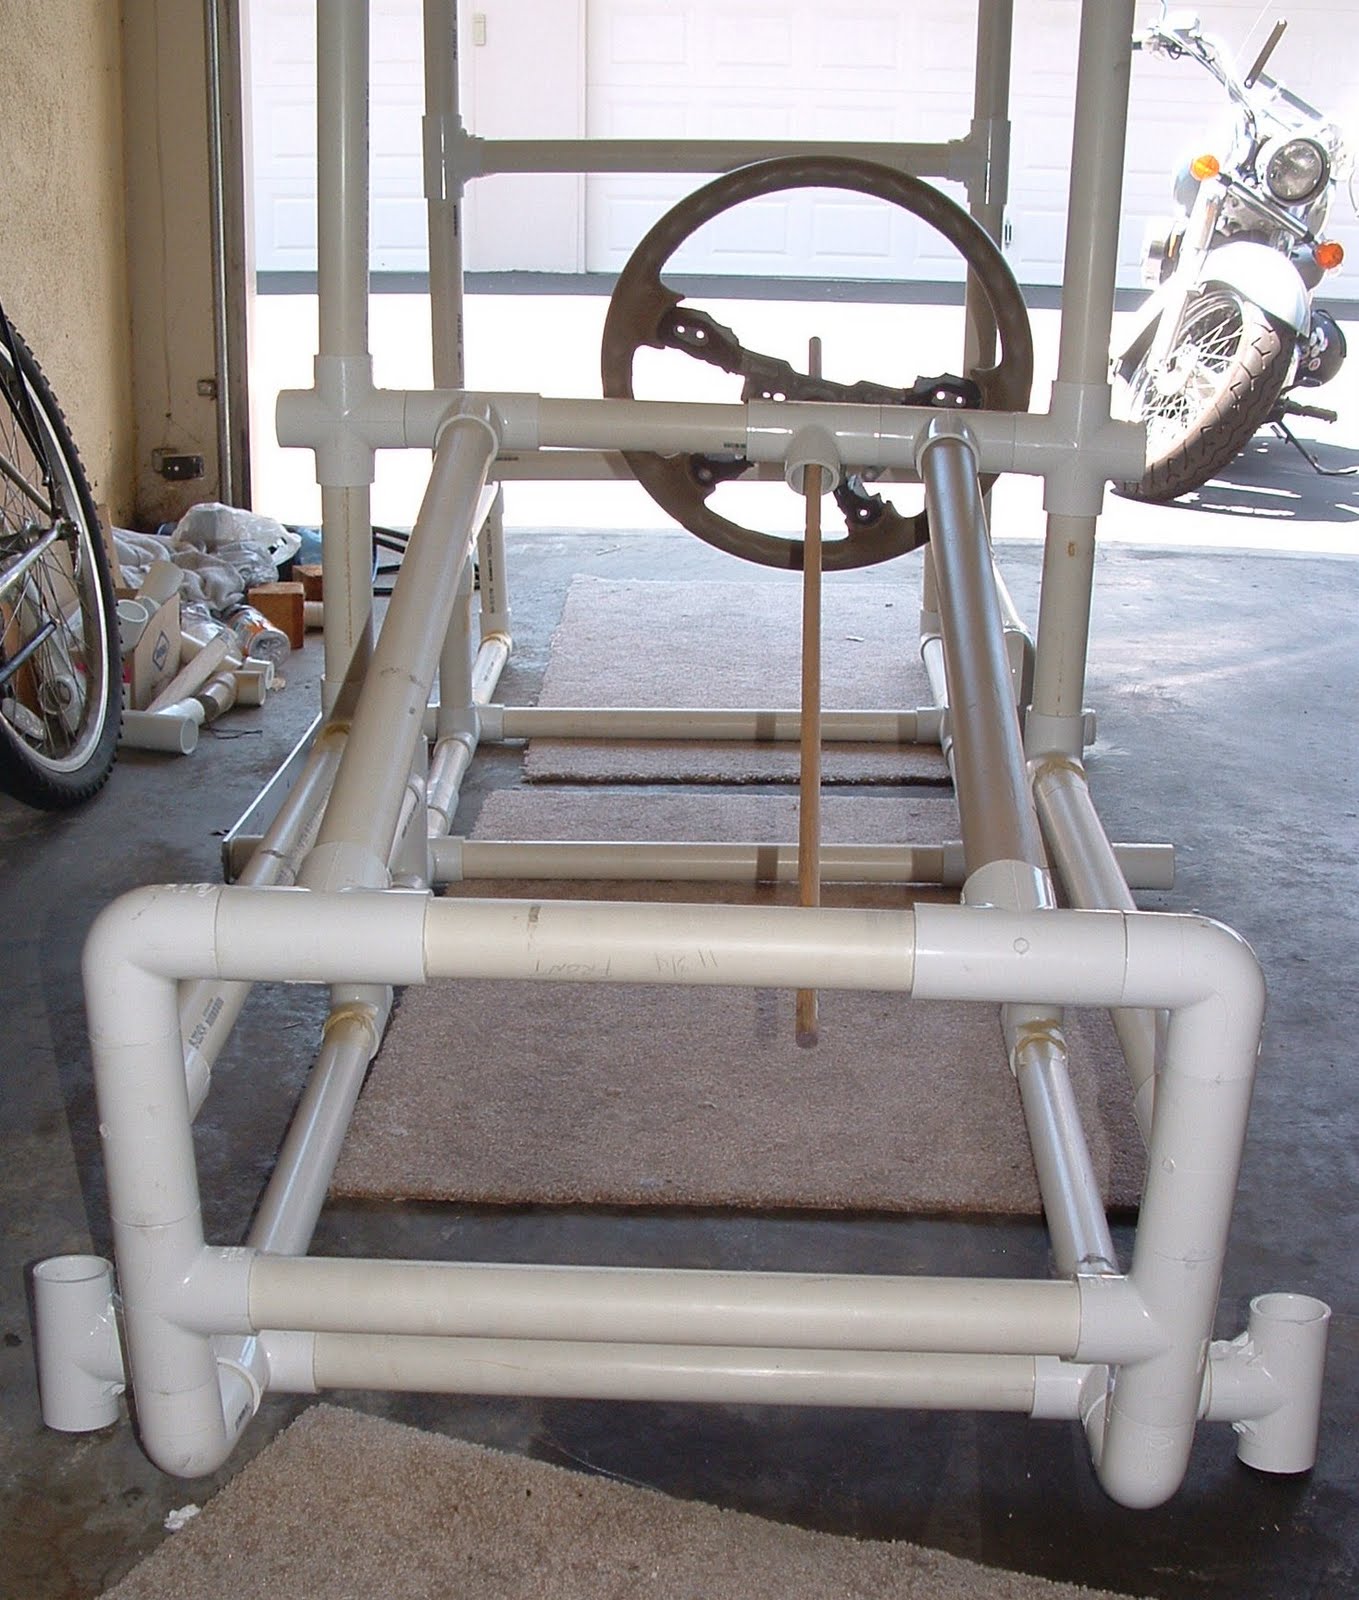


Sunday, July 18, 2010

I added the seat roof supports and hood pipe from the "grill" to the "dash" . It needs some trimming, glueing in order to square up better.


Paint Experiment


The word is that the ink from the PVC bar code and writing shows through the paint if you just paint over it. Suggestions are to use acetone and steel wool, comet cleanser or sand it off. Acetone barely smeared it, comet cleanser less and after several minutes of hand sanding and seeing only a fading of the ink, I started looking for an easier way. I sanded a little with my roto drexel tool and it took it off quickly, in small amounts and left grooves. I went to the chemical engineering department (the kitchen) and found the old and powerful Goof Off. First coat blurred the ink much more. A second go got rid of most of it, but still slightly visible.


I wanted to see see just how bad it would show so I did an experiment.


Using Krylon Primer spray paint for plastic, I sprayed half of the tube cleaned with Goof Off and half of a scrap tube (remember that Tee put on wrong?) with ink untouched. I then sprayed both with Krylon Satin color paint. As you can see from my bad test spray of the Tee the ink does not show under the paint or the primer. On the tube it does not show at all. In fact the worst part showing were the grooves left from the bad sanding. I've decided to use the Goof Off on the most visible ink, although most of it will be pointed inward or downward, use the rest of my primer since I have it, on those visible parts, and paint away!

Sunday, July 11, 2010

Accessories

Here are a couple of accessories waiting to be installed onto the DreamCycle! Thanks Jeff for your birthday gift/contribution to the cause.


Saturday, July 10, 2010

Assemble without glue


Here's all the pieces that I have so far assembled without glue to get a feel for look and fit. I can also measure for the custom pieces from the front to the dash for the hood of a car look. The frame easily twists for squaring up before glueing, bolting and finishing up. Now I'll need to figure out some of the nitty gritty functional parts that go to wheels, gears, steering. Couplers.....hmmm.

Monday, July 5, 2010

Practical Lessons


Lots of practical lessons. Here is the positioned PVC for one front side. Note that the bottom Ts will look like they are butted up to one another, but a 2&1/8" pipe connects them. Also keep angles and general design in mind when glueing. Don't do picture 2! The glue dries before you can twist into place.

Next is a photo of the Ts and cross bars glued in place.


Next Lesson: Don't assume that just because Home Depot has a box of Ts or elbows labeled 1&1/4" and has a lot of them in there that all of them are the same! I returned 2 1&1/2" Ts, 1 1&1/4" T with a screw thread, and one elbow with a screw thread. Sit on the floor and make sure each one of the 10 or 20 or 30 are what you want.


Previous Lesson: Two of the 26" cuts from last time should have been 2 13" cuts. It is hard to keep track of what goes where. I found it helpful to make my own list of pipe lengths broken into
functional sections: front sides, back sides, floor, front, axle, top, dash. That way, I can break the project down to comprehensible, bite size tasks. I can more easily find what I need with a small pile than with a big pile of pipe. I also penciled on the pipe the length when I measured it. I found it helpful to label it with the section when cutting for more than one section.

Laying out visually/physically verifies that you have done what you thought you did.


Here are the two sides laid out, with one missing the 13" pipe that was scrapped because of the messed up perpendicular Ts. (photo 2)